Architecture versioning: why it is important and how to implement
What is Architectural Versioning?
Architectural versioning refers to the practice of managing and documenting different versions of an architecture within a project. This can include software architecture, system architecture, or any documented architecture that evolves over time. The main purpose is to track the changes in architecture over the development process, allowing stakeholders to understand how and why decisions were made, and to facilitate the maintenance and scaling of the architecture.
What Problem Does It Solve?
Architectural versioning solves several key problems:
- Traceability: It provides a clear history of architectural changes, decisions, and their rationales. This is crucial for understanding the evolution of the system for both current team members and new ones.
- Consistency: Ensures that all team members and stakeholders are working with the same understanding of the system’s architecture, reducing errors and miscommunications.
- Rollback and Comparison: Enables teams to revert to earlier versions if a new architectural change introduces problems or to compare different versions to assess changes.
- Compliance and Auditing: Facilitates compliance with regulatory requirements by maintaining a detailed record of the architecture’s evolution.
Implementing Architectural Versioning with Git, GitLab, and Docsify
To implement architectural versioning, you can use Git for version control, GitLab for repository hosting and collaboration, and Docsify to create a user-friendly documentation site. Here’s how you can set it up:
Step 1: Set Up Git and GitLab
-
Initialize a Git repository: If your project isn’t already under version control, start by creating a new Git repository in your project directory:
git init -
Commit your existing architecture documents: Add your architectural documents to the repository and commit them:
git add . git commit -m "Initial commit of architecture documents" -
Create a GitLab project: Log into GitLab and create a new project. Then, link your local repository to GitLab:
git remote add origin <your-gitlab-project-url>
git push -u origin master
Step 2: Set Up Docsify for Documentation
-
Install Docsify CLI:
npm i docsify-cli -g -
Initialize Docsify in your project directory:
docsify init ./docs -
Configure the sidebar by editing the
_sidebar.mdin yourdocsfolder to organize your documentation navigation:- [Home](/) - [Version 1.0](/v1.0.md) - [Version 1.1](/v1.1.md) -
Add PlantUML Support: You can use a Docsify plugin to render PlantUML diagrams. Add the following script to your
index.html:
<!DOCTYPE html>
<html>
    <head>
    <meta charset="UTF-8">
    <title>Your Project Documentation</title>
    <meta name="viewport" content="width=device-width, initial-scale=1">
    <link rel="stylesheet" href="//unpkg.com/docsify/lib/themes/vue.css">
    </head>
    <body>
    <div id="app"></div>
    <script>
        window.$docsify = {
        name: 'Your Project',
        repo: 'https://github.com/Deviad/docsify-example',
        loadSidebar: true,
        subMaxLevel: 2,
        search: {
            maxAge: 86400000, // Expiration time, in milliseconds, defaults to one day
            paths: 'auto', // Or specify the path
            placeholder: 'Search',
            noData: 'No Results!',
            depth: 2, // Text search depth, defaults to 2
            hideOtherSidebarContent: false, // Whether to hide other sidebar content
        }
        }
    </script>
    <script src="//unpkg.com/docsify/lib/docsify.min.js"></script>
    <script src="//unpkg.com/docsify/lib/plugins/search.min.js"></script>
    <script src="//unpkg.com/docsify-plantuml/dist/docsify-plantuml.min.js"></script>
    <script src="//unpkg.com/prismjs/components/prism-json.min.js"></script>
    </body>
</html>- Serve your documentation site locally:
docsify serve docs
Step 3: Include a Component Diagram in PlantUML
Inside one of your markdown files (e.g., v1.0.md), you can embed a PlantUML diagram like this:
@startuml
component [Your Component] as YC
component [Database] as DB

YC --> DB : uses
@enduml
This will render a component diagram showing a simple interaction between a component and a database.
Example: Architectural Versioning in a Web Application
Consider a web application that started with a monolithic architecture in Version 1.0 and transitioned to a microservices architecture in Version 1.1.
Version 1.0 Document (v1.0.md):
- Description of the monolithic architecture.
- PlantUML diagram showing all components bundled into a single unit.
- Explanation of the technology stack.
Version 1.1 Document (v1.1.md):
- Documentation of the shift to microservices.
- PlantUML diagrams showing the breakdown of the monolith into services.
- Detailed descriptions of each service, including their interactions.
By following these steps, you maintain a versioned record of your architectural changes that is accessible and understandable to all project stakeholders. This setup not only aids in maintaining the current state but also provides insights into the project’s evolution.
/your-project-root-directory
│
├── docs/                    # Main directory for Docsify documentation
│   ├── _sidebar.md          # Sidebar configuration file
│   ├── index.html           # Entry point for Docsify, includes all configurations
│   ├── v1.0.md              # Architecture documentation for version 1.0
│   ├── v1.1.md              # Architecture documentation for version 1.1
│   └── images/              # Directory for storing images used in docs
│       └── architecture.png # Example image (e.g., diagrams, screenshots)
│
├── src/                     # Source code for the project (for context)
│   ├── app/
│   │   ├── component1/
│   │   └── component2/
│   └── main.js
│
├── .gitignore               # Git configuration file to exclude files/folders from version control
├── README.md                # Project overview and general information
└── package.json             # Node.js package file for project metadata and dependencies
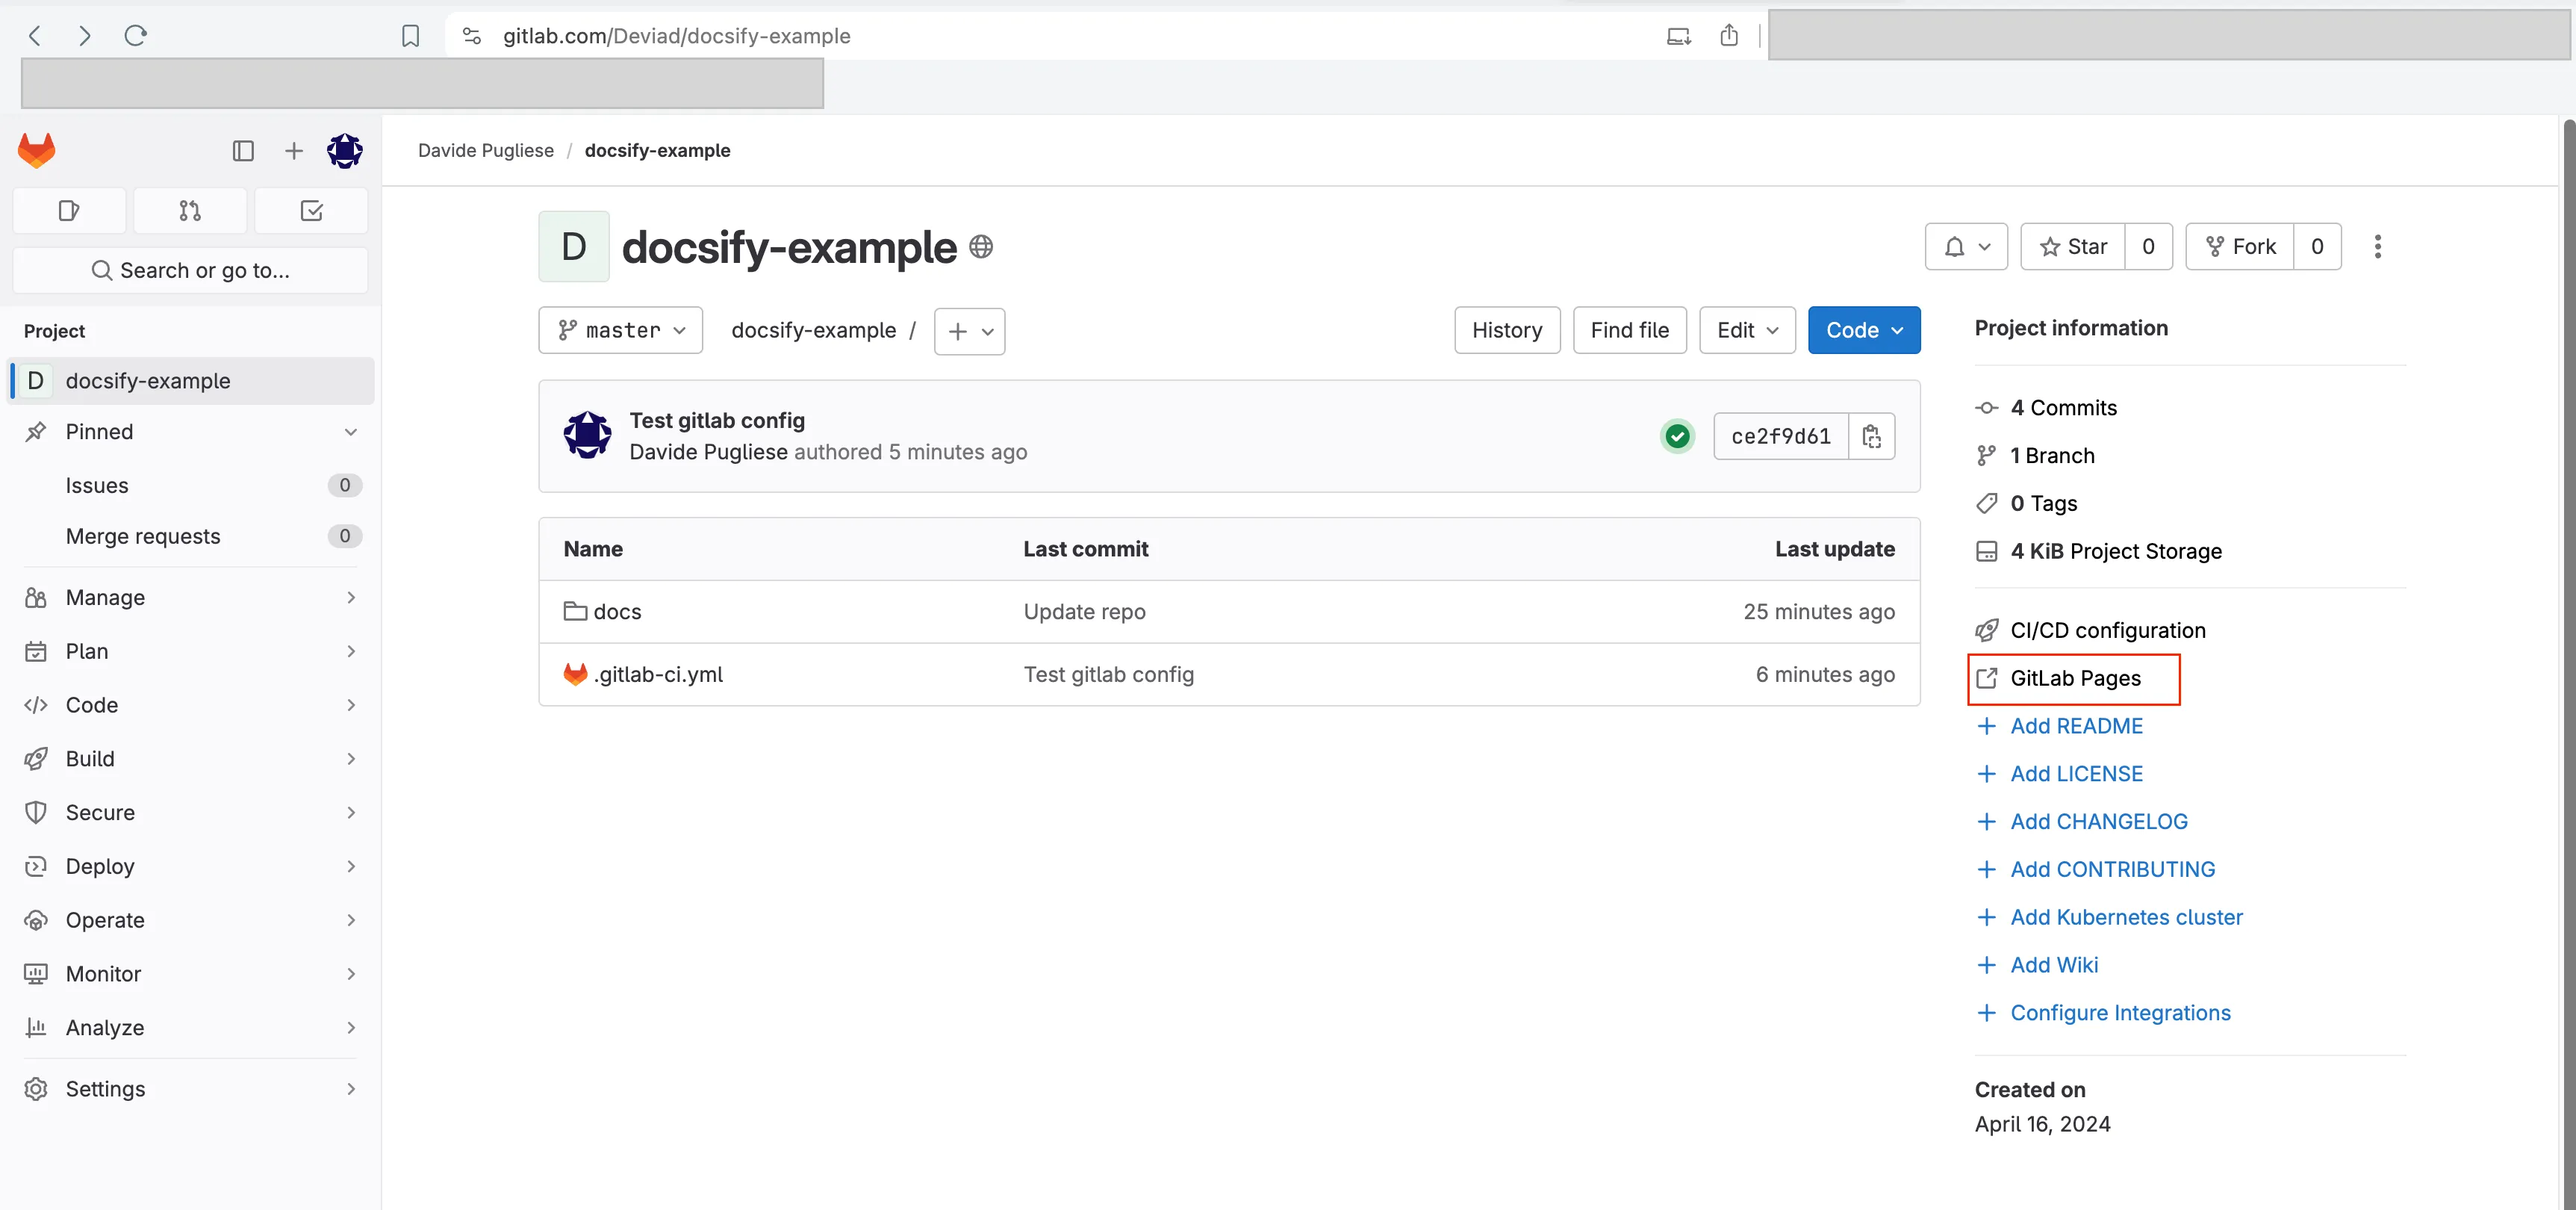
Here is the Github repo and the Gitlab repo with the full example.
The main difference between these 2 is that for Gitlab you need also the .gitlab-ci.yml
pages:
  stage: deploy
  script:
    - mkdir public               # Ensure the public directory exists
    - cp -r docs/* public/       # Copy everything from docs to public
  artifacts:
    paths:
      - public
  only:
    - master  # or your default branch

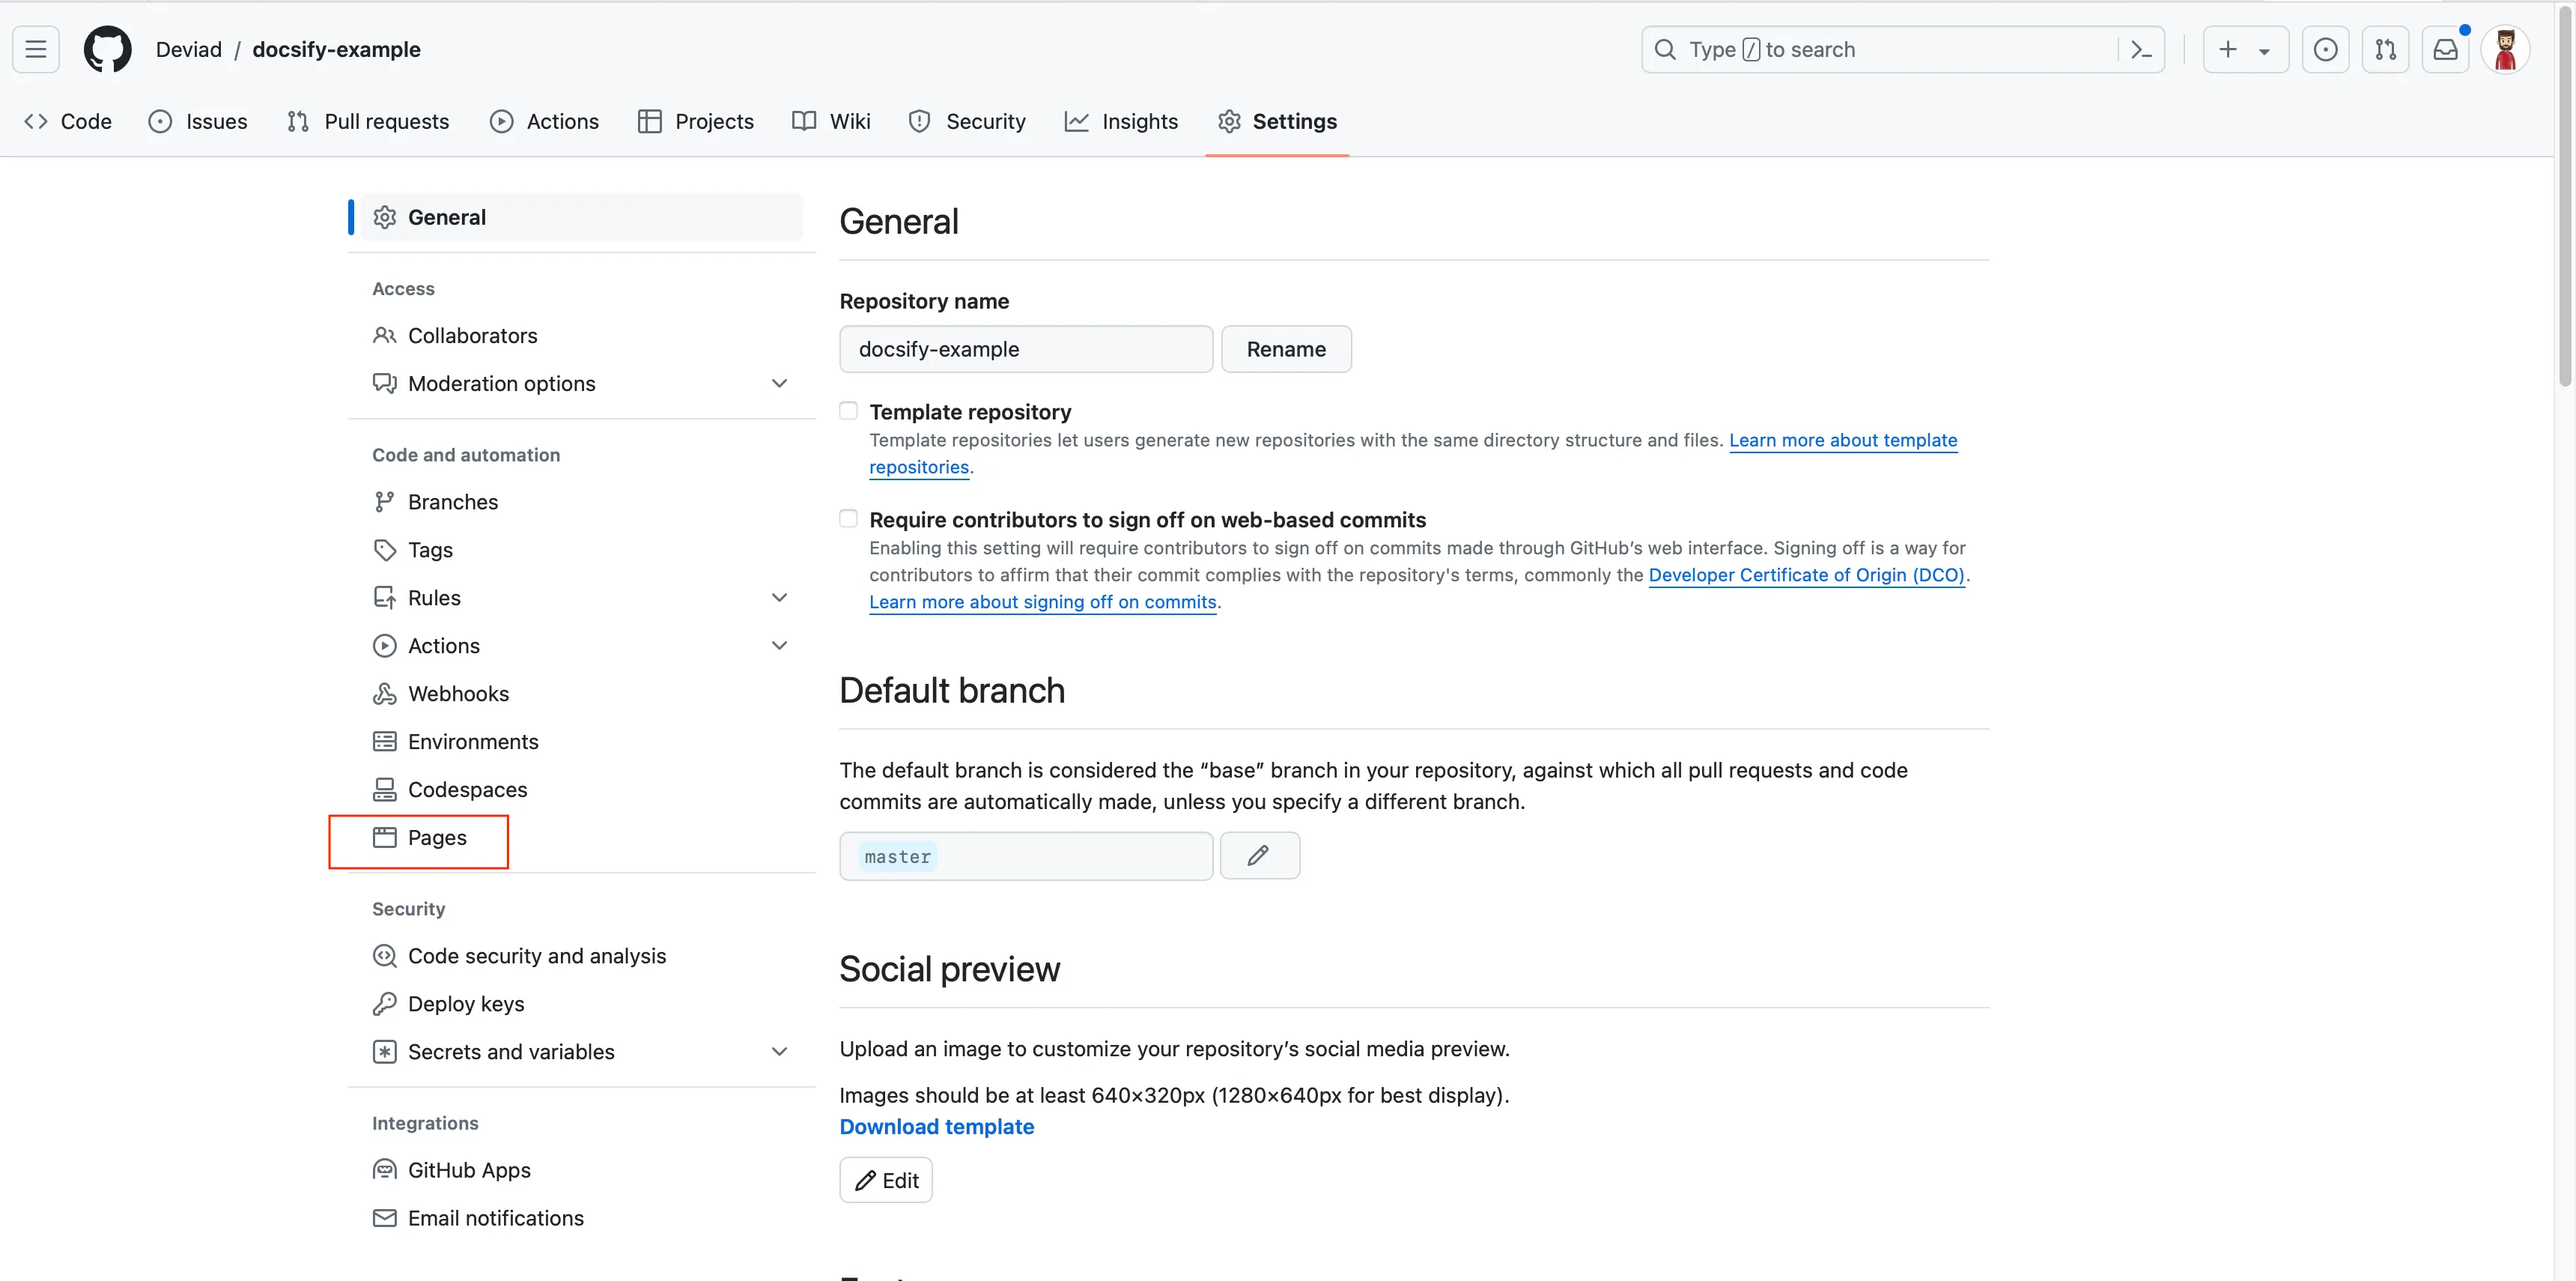
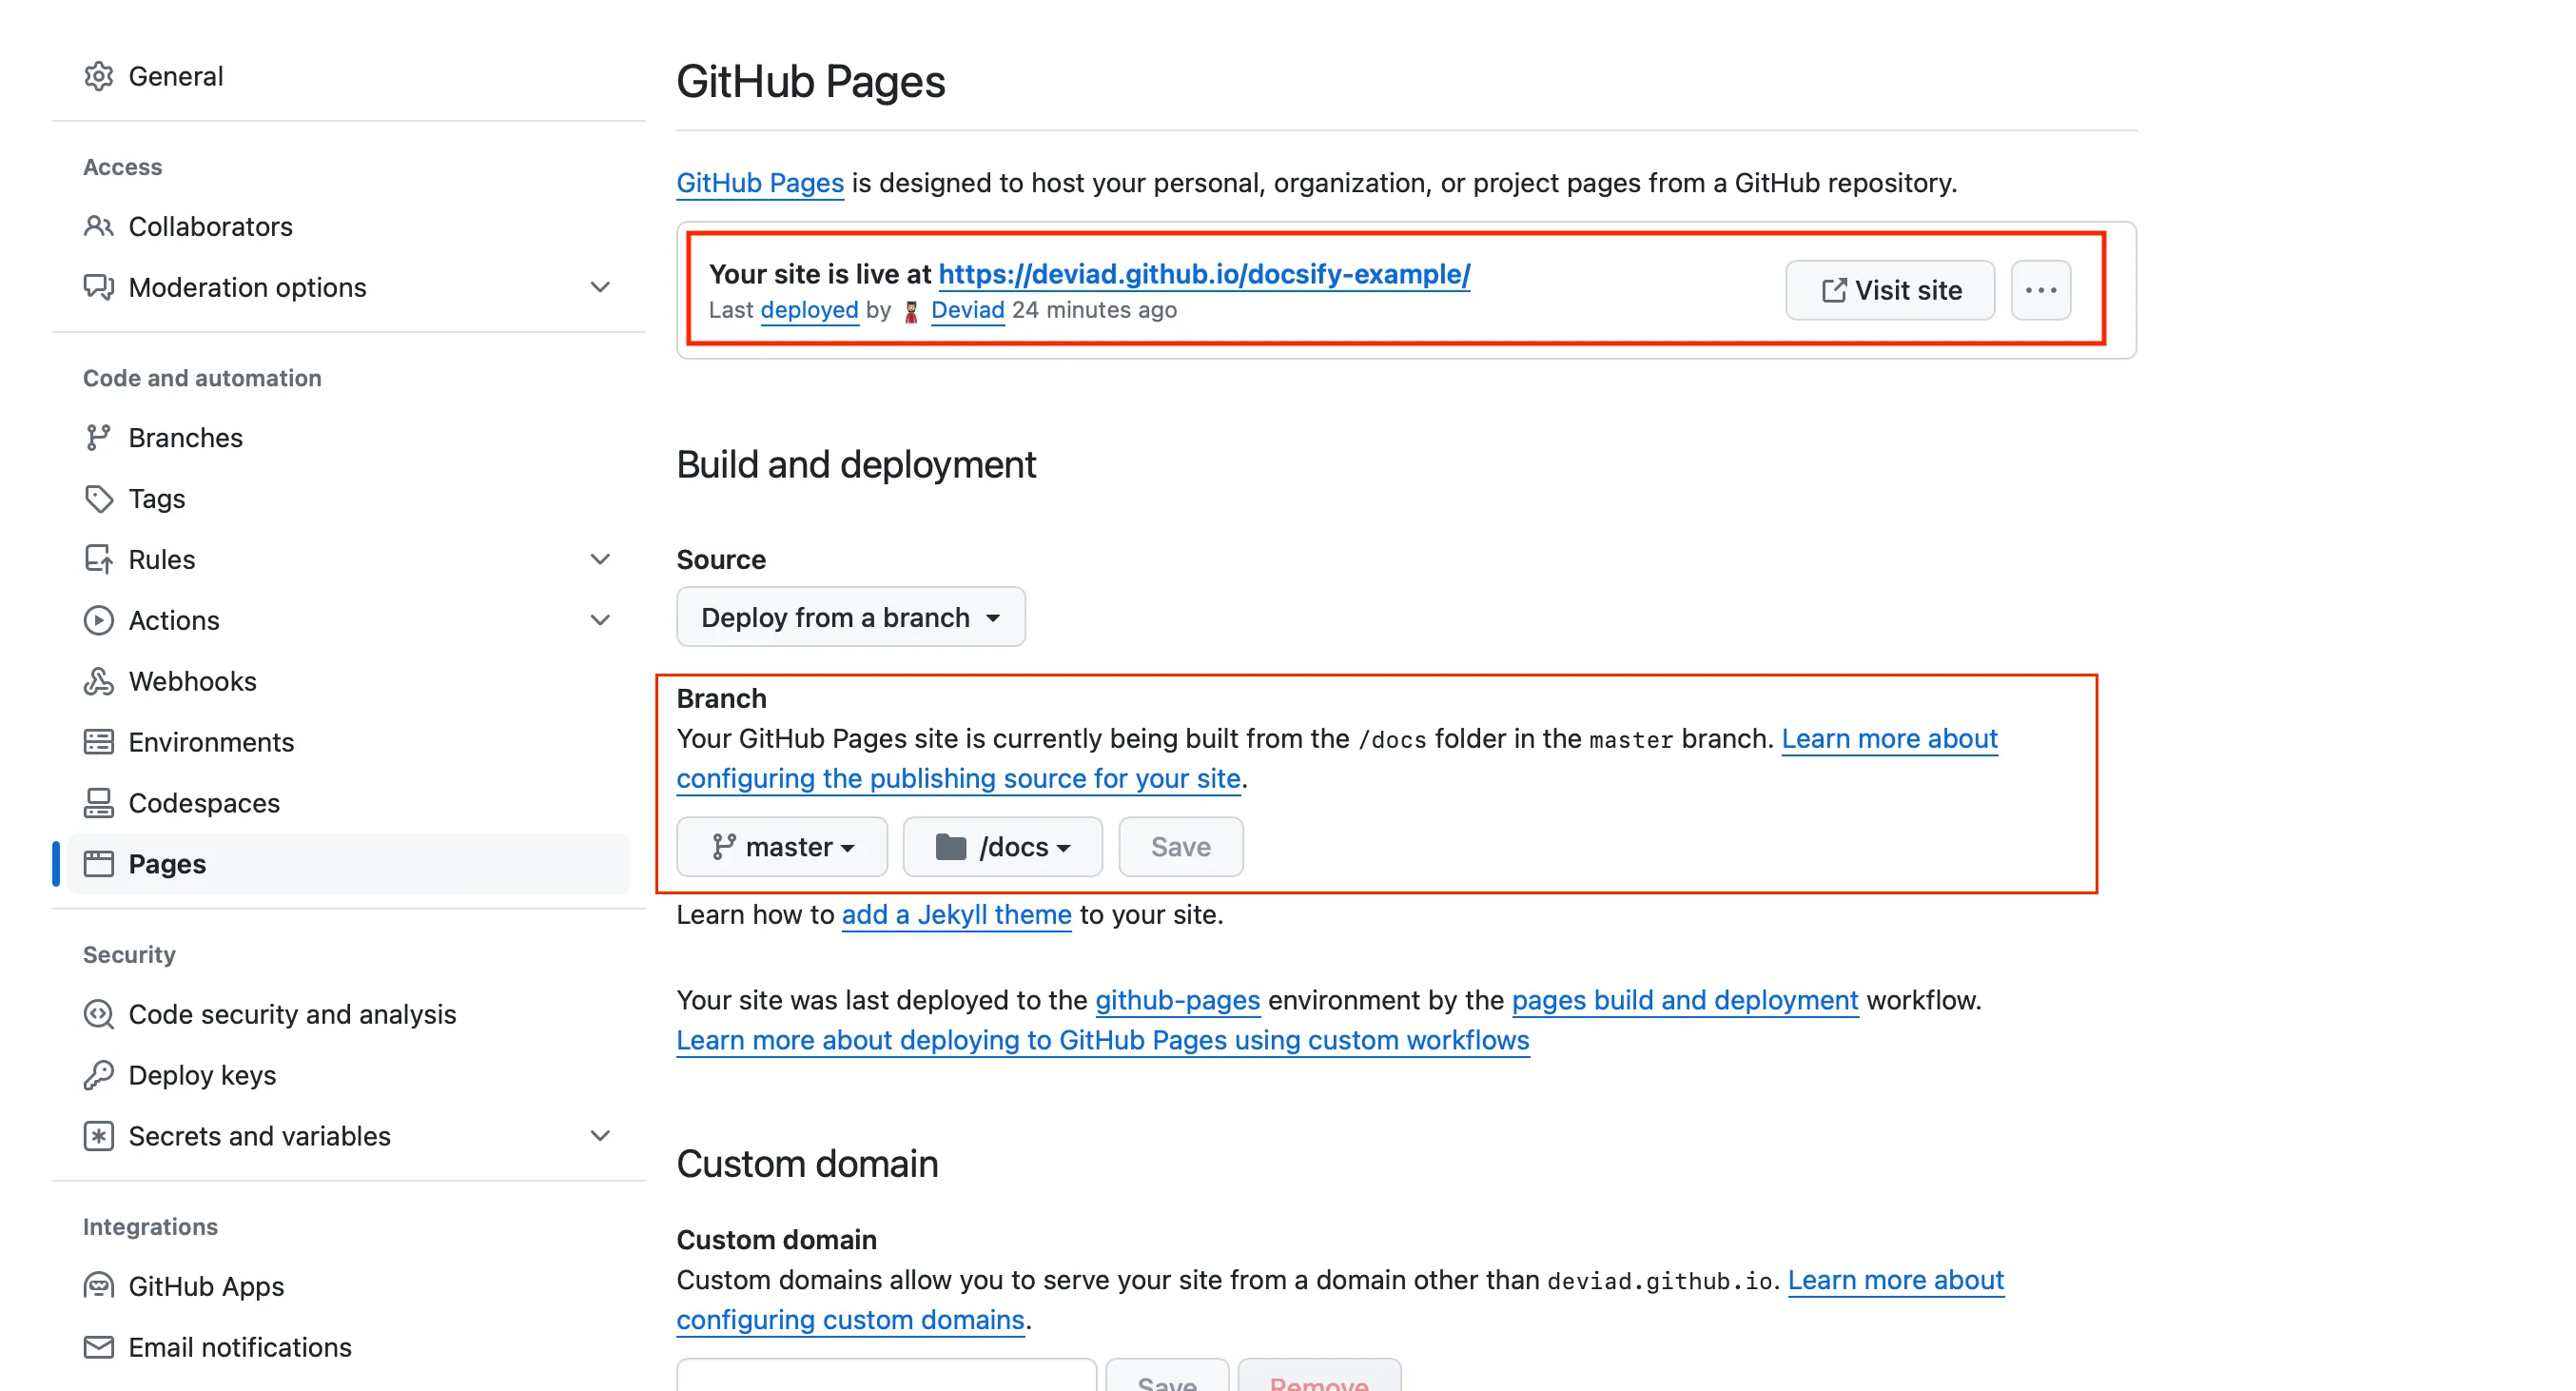
For Github instead you just need to activate Github Pages for the repo.

